0%

使用 Docker 在本地构建 Jupyter Notebook

使用 Docker 在本地构建 Jupyter Notebook

先看下 Jupyter 官方的介绍

The Jupyter Notebook is an open-source web application that allows you to create and share documents that contain live code, equations, visualizations and narrative text. Uses include: data cleaning and transformation, numerical simulation, statistical modeling, data visualization, machine learning, and much more.

一个很方便地使用 Python 做数据分析和数据科学的 Web 应用,赶快在本地构建一个用起来吧。

安装和使用 Docker

这篇文章的假设前提是你对 Docker 比较熟悉,或者至少安装了 Docker。
如果你不知道 Docker 是什么或者不知道怎么使用,需要先查阅和熟悉下 Docker 的资料和使用方法。

基于镜像 jupyter/scipy-notebook 再进行 build

1
$ docker search jupyter # 从Docker Hub查找Jupyter镜像

发现已经有构建好的Jupyter镜像,我使用jupyter/scipy-notebook,发现没有 Hive 环境以及相关依赖,所以基于这个镜像进行了再次构建。

编写 requirements.txt 和 run.sh

Python 链接 Hive 我用的是PyHive,需要安装相关的依赖。

1
2
3
4
5
6
$ cat requirements.txt
PyHive==0.5.0
thrift==0.10.0
thriftpy==0.3.9
sasl==0.2.1
thrift-sasl==0.3.0
1
2
$ cat run.sh
tini -g -- start-notebook.sh # 启动脚本

编写 Dockerfile

Dockerfile 是一个文本文件,里面是指令和 shell 命令。

1
2
3
4
5
6
7
8
9
10
11
12
13
14
15
16
FROM jupyter/scipy-notebook:b2562c469cdd    # 基于一个Docker image

USER root # 指定 root 。基础镜像以用户jovyan运行,执行 apt-get 报权限问题
RUN apt-get update # RUN 后面写 shell 命令
RUN apt-get install libsasl2-dev libsasl2-2 libsasl2-modules-gssapi-mit


USER jovyan # 切换回用户jovyan
RUN mkdir code # 创建一个目录
COPY ./ code # 复制指令,从上下文目录中复制文件或者目录到容器里指定路径。
RUN pip install -r code/requirements.txt -i https://pypi.douban.com/simple/ # 安装Python库

RUN cp code/lib/hive.py /opt/conda/lib/python3.8/site-packages/pyhive/hive.py # 安装的库源码有语法兼容问题,这里我做了修改和替换

CMD ["/bin/bash","code/run.sh"] # 在docker run 时运行 code/run.sh

最后当前目录包含如下的文件

1
2
3
4
5
6
7
$ tree ./
./
├── Dockerfile
├── lib
│   └── hive.py
├── requirements.txt
├── run.sh

docker build

开始构建镜像

1
$ docker build -t myrepo/jupyter -f Dockerfile . # -t 镜像的名字 -f 指定要使用的Dockerfile路径

build 完成后可以看到镜像

1
2
3
$ docker images
REPOSITORY TAG IMAGE ID CREATED SIZE
myrepo/jupyter latest c5520af88d36 50 minutes ago 2.71GB

docker run

现在创建一个容器并运行了

1
2
3
4
5
6
$ docker run \
--name myrepo-jupyter \ # 给容器起个名字
-p 8888:8888/tcp \ # 端口映射
-e GRANT_SUDO=yes \ # 设置环境变量
--user root j\ # 以 root 执行
myrepo/jupyter:latest # 刚才构建的镜像

运行起来后终端会输出一个带 token 的本地连接 http://127.0.0.1:8888/?token=,点击打开。

查看版本和测试功能

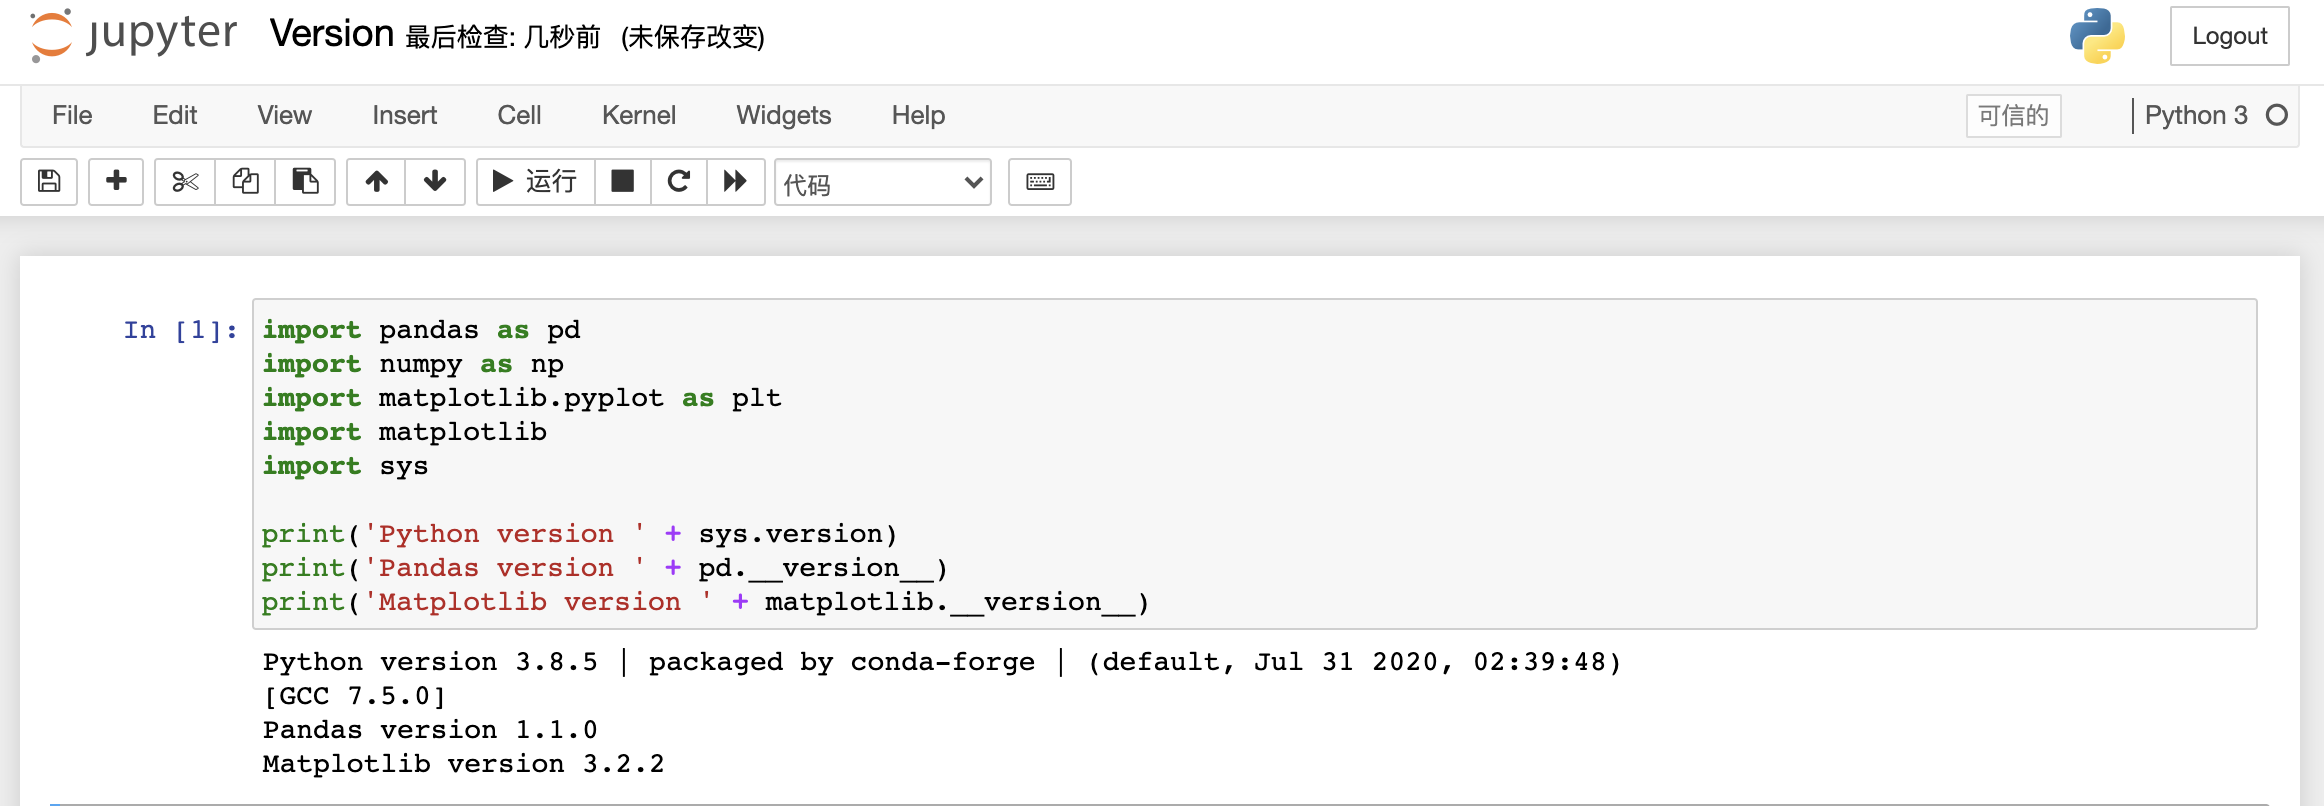
新建一个 Python 文件运行查看下版本

1
2
3
4
5
6
7
8
9
import pandas as pd
import numpy as np
import matplotlib.pyplot as plt
import matplotlib
import sys

print('Python version ' + sys.version)
print('Pandas version ' + pd.__version__)
print('Matplotlib version ' + matplotlib.__version__)

可以写一个类似下面的简单脚本测试下 Hive 连接功能是否正常

1
2
3
4
5
6
7
8
9
10
11
12
13
14
15
16
17
18
19
from pyhive import hive
from TCLIService.ttypes import TOperationState
import pandas as pd
import numpy as np

cursor = hive.connect(host='',port=10000,username='x',password='x',auth='LDAP').cursor()

hql='''
select
id,
add_date
from dwd.dwd_user_dim_user_base
limit 1000
'''

cursor.execute(hql)
df = pd.DataFrame(cursor.fetchall(), columns = ['id','add_date'])
df.head(20)

好了,至此一个本地的 Jupyter 环境就部署好了。

参考